Vicki, from West Sussex, show us how to create a beautiful notice board. Lets read on…
What did you do?
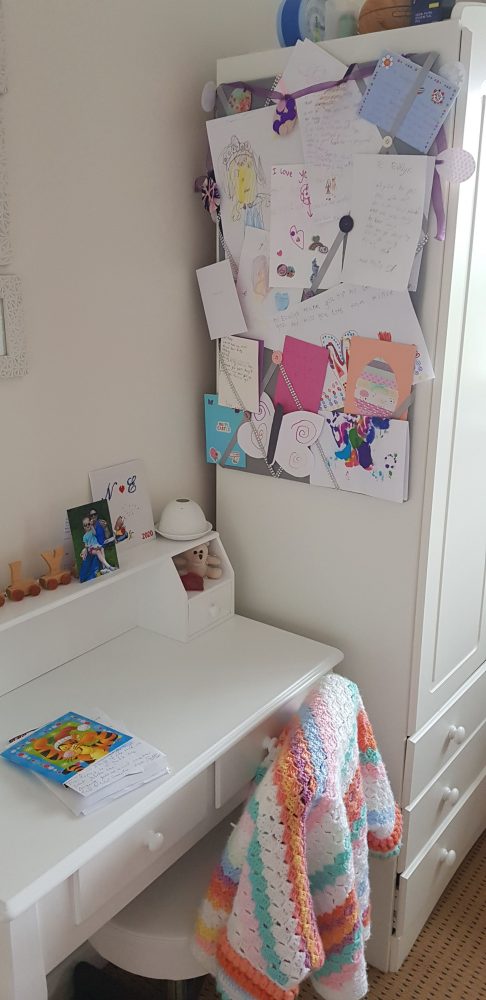
A simple and cheap notice board for your kids to display their letters and cards from friends. If you’re a well stocked crafter, this will likely cost you nothing more than a bit of time!
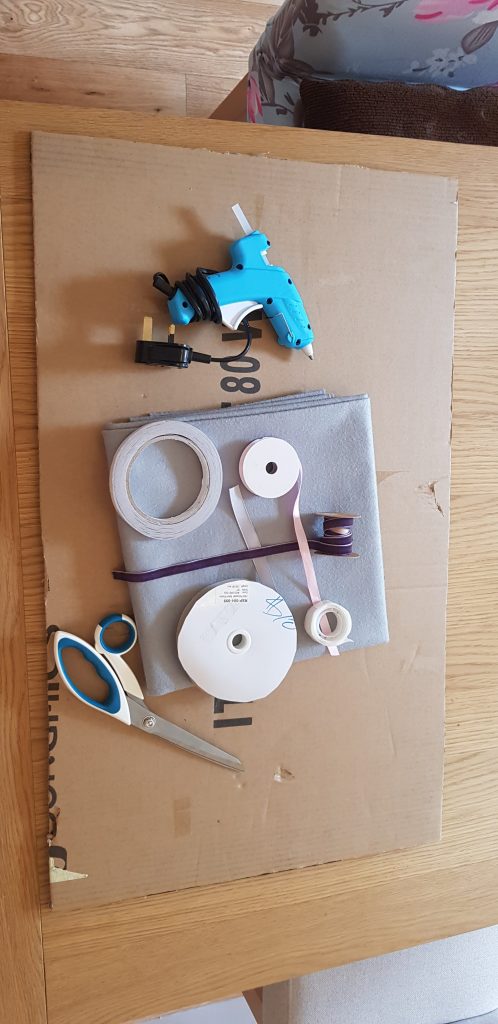
You will need the following (or suitable substitutions, I just used what was available in our various crafty boxes!):
Cardboard box
Fabric (I used felt)
Ribbons
Buttons
Adhesive ( I used a combination of double sided tape, glue spots & a hot glue gun)
Needle & Thread
Start by cutting out a board from your cardboard box.
Next, cut out a section of fabric large enough to cover your board with extra to fold over the edges and secure (I left about 10cm extra on all sides).
TIP – Depending on your fabric, adhesive like PVA or hot glue might seep through and look unsightly. I recommend a dry adhesive for this next part. I used double sided tape.
Place you fabric flat on a level surface. Use an adhesive to cover the front of your board to prevent too much movement of the fabric once hung. Once applied, carefully place the board on to fabric, being careful not to cause creases. Smooth/press down to secure.
Apply adhesive to the edges of the back side of the board and fold your excess fabric over to secure. As this side is not on show, wet adhesives can be used here if you want.
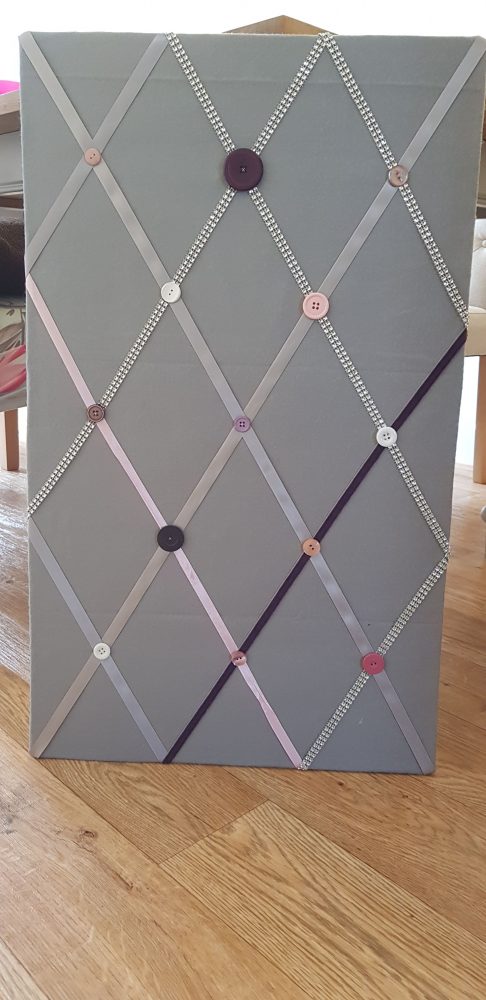
Once dry, flip your board right side up and cut lengths of ribbon to make a diamond crisscross pattern across the surface. Make sure to make them longer than the dimensions of the board so you can fold them over and secure on the back.
TIP – This next bit is a little fiddly, I found it easier to lightly tack the ribbon ends in place then stick them down firmly at the end. If available, you could also use sewing pins to secure the ribbons to the fabric and just flip the board to secure the ends to the back.
When you’re happy with your layout, place adhesive on the ends of a ribbon (work with one ribbon at time), then fold the excess over and secure to the back of the board. I used glue spots to do this part.
Continue until all ribbons are secured.
TIP – It you’re using a variety of different button, it may help to decide on your layout before you start sewing.
Taking your buttons, needle and thread, sew a button through the cardboard and secure at the intersections of each ribbon.
Your board is now ready to hang! We used the wallsaver sticky pads as, despite it’s light weight, bluetack didn’t hold it securely. If you’re making a smaller board then you might get away with it!
– Consider your adhesives, remember wet glues will seep through fabrics and may be visable once dry.
– Depending on the size of your board, you may need something more secure to hang it/attach it to a wall than bluetack.
– Consider a large/sturdier needle to cope with being pushed through the cardboard (but remember, not so big that you can’t pull it through the holes of your buttons!).
Tell the Housebound With Kids community a bit about yourself…
My name is Vicki. I am a wife and self employed Mummy to my only surviving daughter (6yo). Based in the UK.
How are you finding being housebound so far?
Lockdown has been hard, with Daddy working full time, Mummy trying to juggle her own self employed commitments, home learning, housekeeping and general running of the household. Our six year old daughter is our only surviving child so being stuck at home with no other children for nearly 14 weeks was having a huge impact on her. We have done loads of fun activities but it’s not the same as having her friends around.
Do you have any tips for other parents?
We found keeping to a routine helpful for everyone, as we all know what was expected and when. School work in the mornings, when the kids are fresh and alert then fun activities, exercise etc in the afternoons. Don’t be afraid to explore locally! We have found countless truly beautiful walks and areas of countryside that we never knew were there before; all within walking distance of home (we haven’t been out in the car since schools sent the kids home).


